Email - Use Azure Logic Apps to notify users of policy violations
Azure Logic Apps are a great option to create simple scalable workflows in Azure, such as sending an email or posting to Microsoft Teams. In this example, we will create a workflow that is invoked by Custodian’s logic-app action.
Create and configure Azure Logic App
We will now walk through the steps to configure a Logic Apps workflow that will consist of an Request trigger and an Outlook send email action.
Create a new Azure Logic App
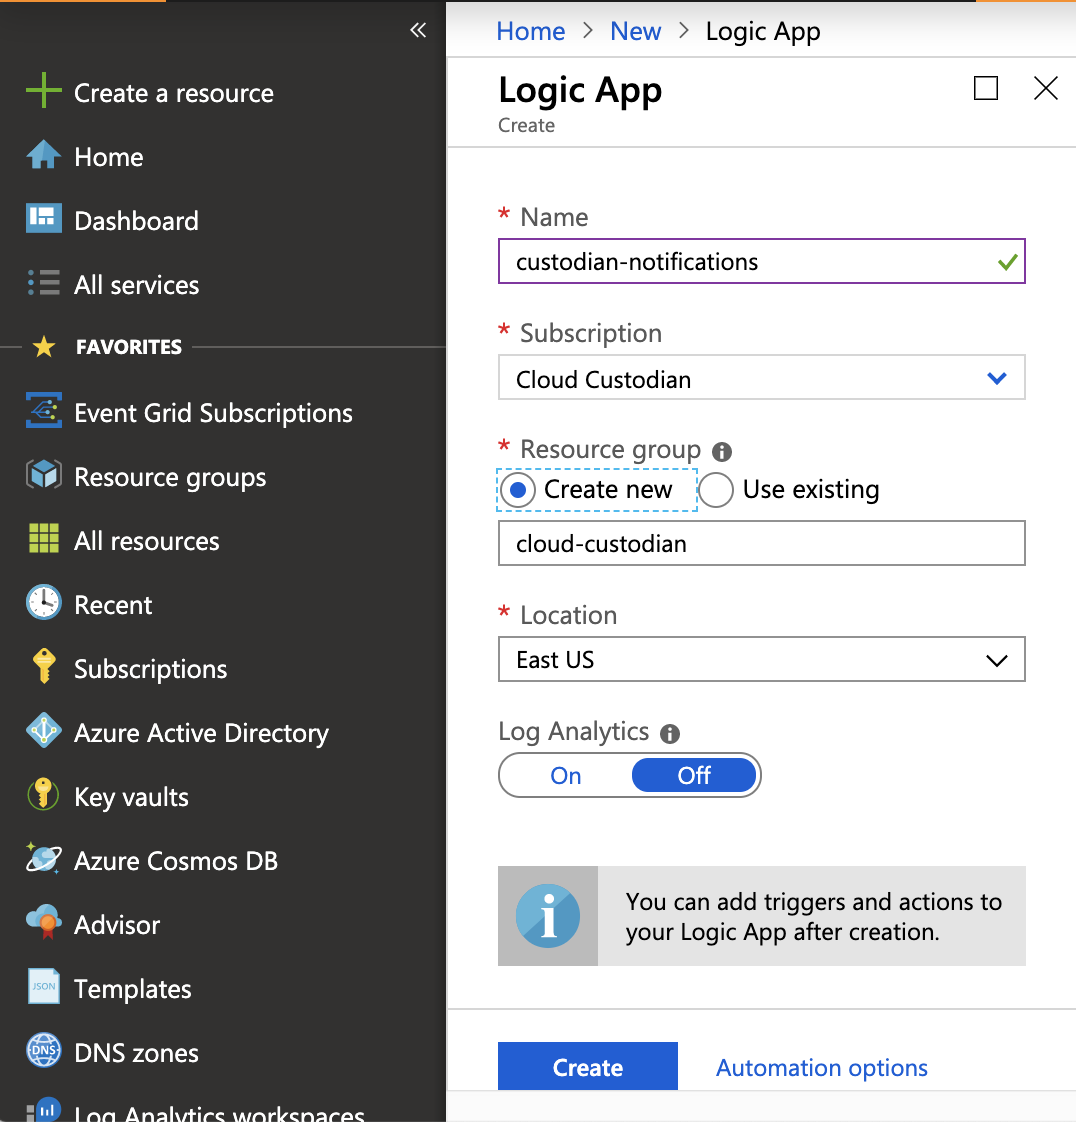
From the main Azure menu, choose Create a resource ─▶ Integration ─▶ Logic App.
Configure your logic app as shown below. For this example, let’s name the Logic App custodian-notifications. After you’re done, hit Create.
After the Logic App is created, go to the resource and select Blank Logic App under Templates.
Create Request trigger
Under the Built-in tab, select Request.
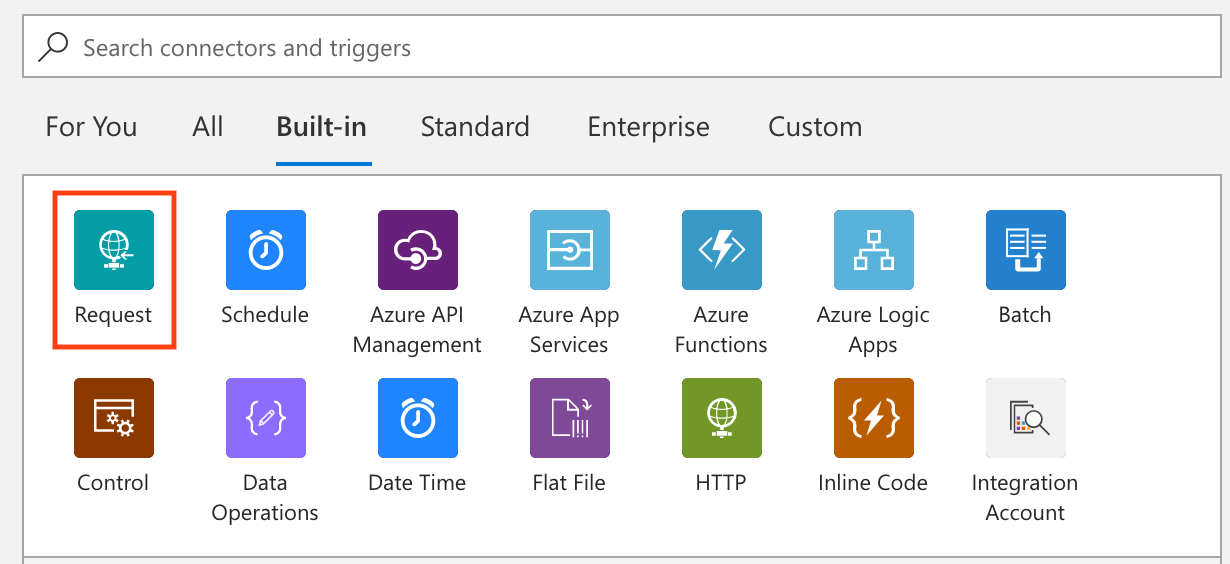
Select When a HTTP request is received. This will setup a HTTP trigger for your Logic App.
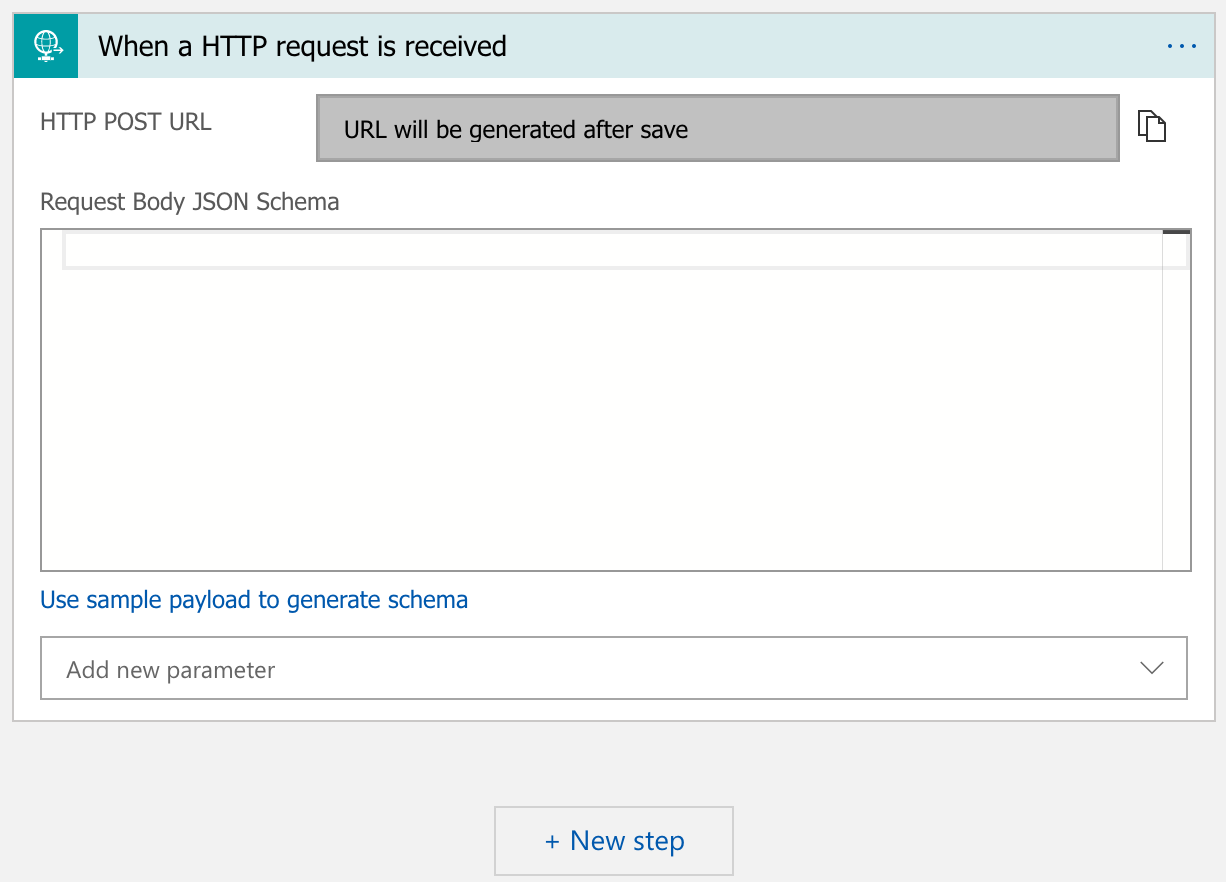
Hitting the Save button will generate the URL that will be used to invoke your Logic App.
Create the Outlook Send Email action
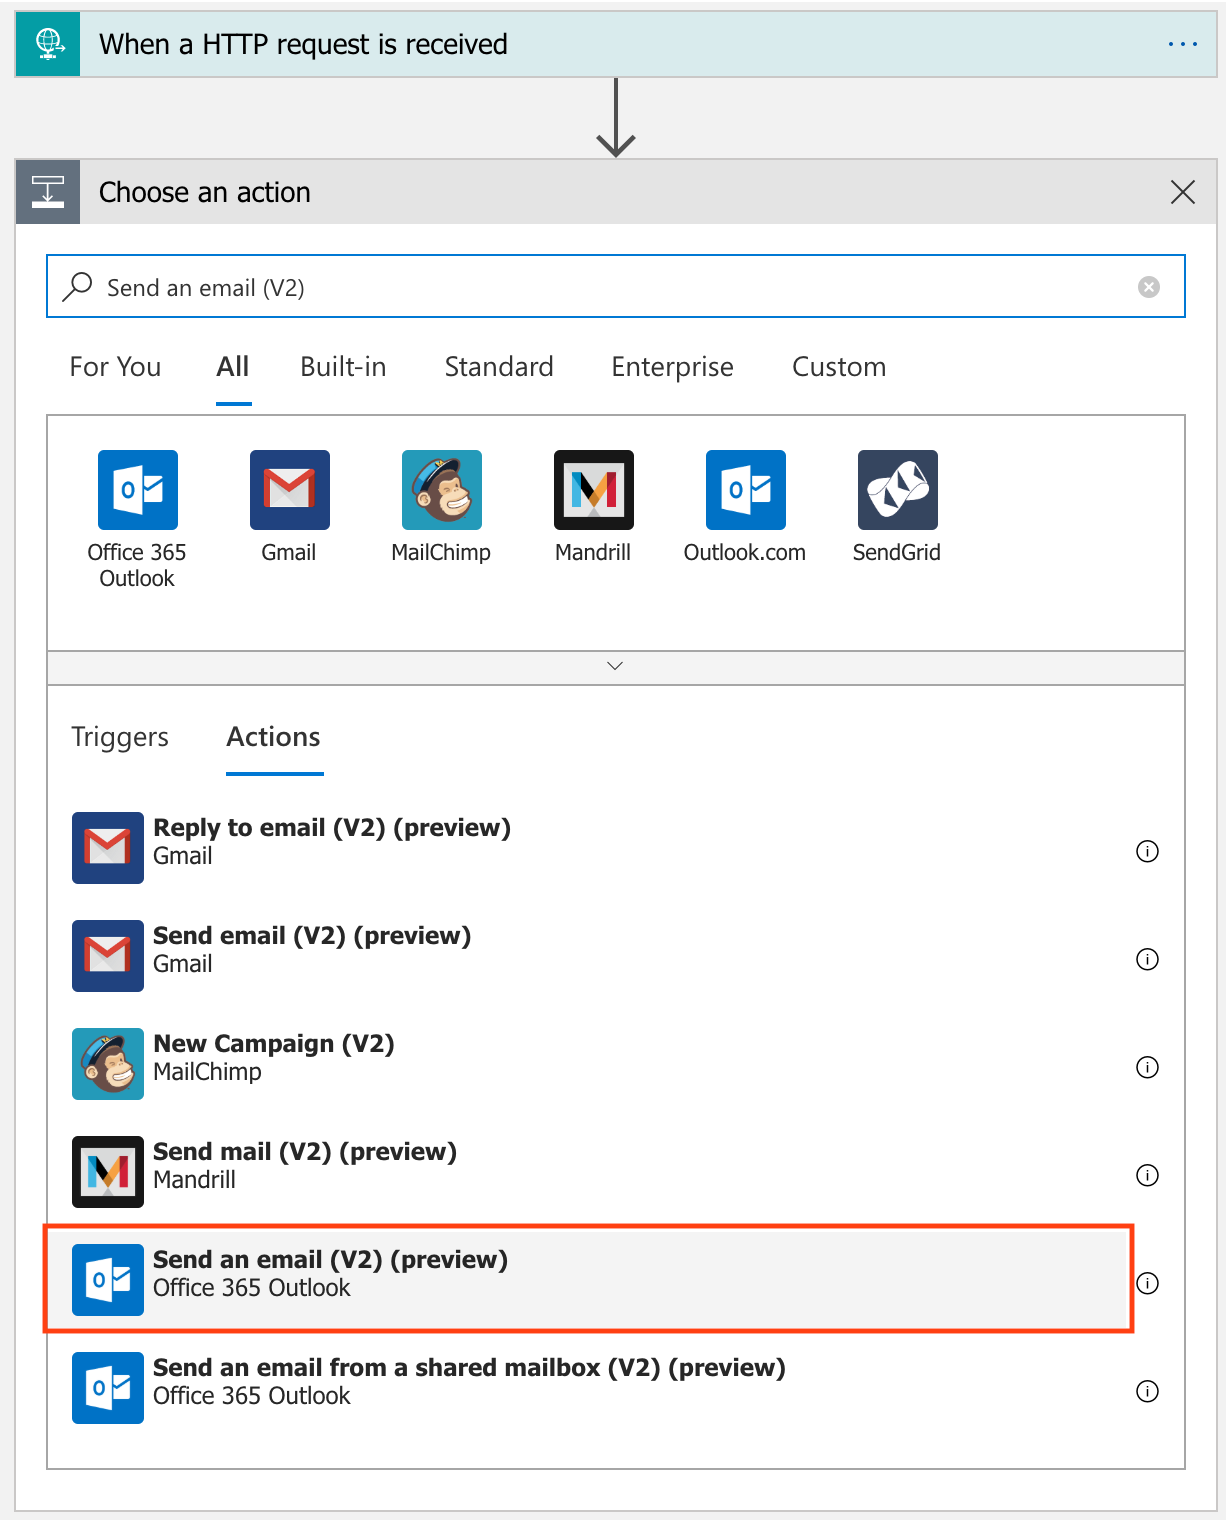
Click the + New Step to create an action to send an email.
In the search box, search for Send an email (V2). Under the Actions tab, select the Office 365 Outlook action.
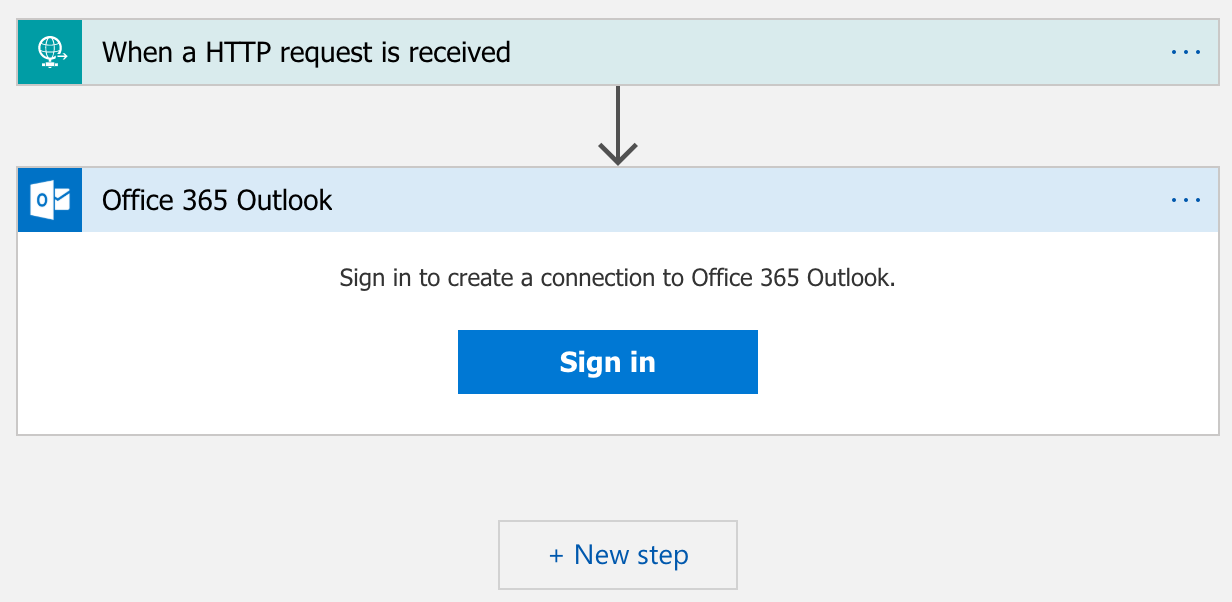
Sign into an Office 365 account to create a connection for your Logic App. This account will be used to send emails once the workflow is invoked.
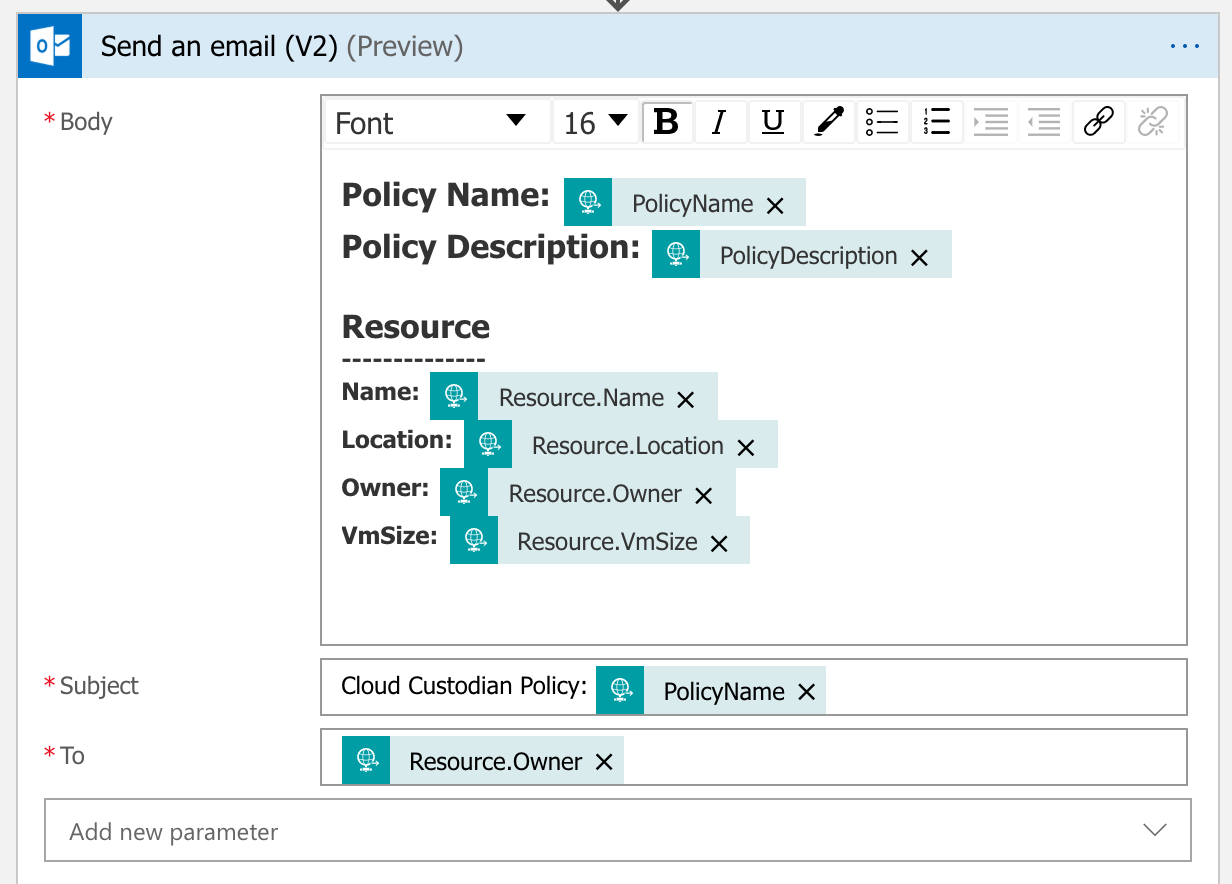
Next, customize the email template that will be sent. Go to into the Code View mode by hitting the Code View Button.

Inside the definition property, update the actions property to look like the following:
"actions": {
  "Send_an_email_(V2)": {
      "inputs": {
          "body": {
              "Body": "<p><span style=\"font-size: 16px\"><strong>Policy Name: </strong></span>@{triggerBody()['PolicyName']}<br>\n<span style=\"font-size: 16px\"><strong>Policy Description:</strong></span><strong> </strong>@{triggerBody()['PolicyDescription']}<br>\n<strong><br>\n</strong><span style=\"font-size: 16px\"><strong>Resource</strong></span><strong><br>\n--------------<br>\nName: </strong>@{triggerBody()['Resource']['Name']}<br>\n<strong>Location: </strong>@{triggerBody()['Resource']['Location']}<br>\n<strong>Owner: </strong>@{triggerBody()['Resource']['Owner']}<br>\n<strong>VmSize: </strong>@{triggerBody()['Resource']['VmSize']}<br>\n<br>\n</p>",
              "Subject": "Cloud Custodian Policy: @{triggerBody()['PolicyName']}",
              "To": "@{triggerBody()['Resource']['Owner']}"
          },
          "host": {
              "connection": {
                  "name": "@parameters('$connections')['office365']['connectionId']"
              }
          },
          "method": "post",
          "path": "/v2/Mail"
      },
      "runAfter": {},
      "type": "ApiConnection"
  }
}
Return back to the Designer mode. The template now appears in the Send an email (V2) action.
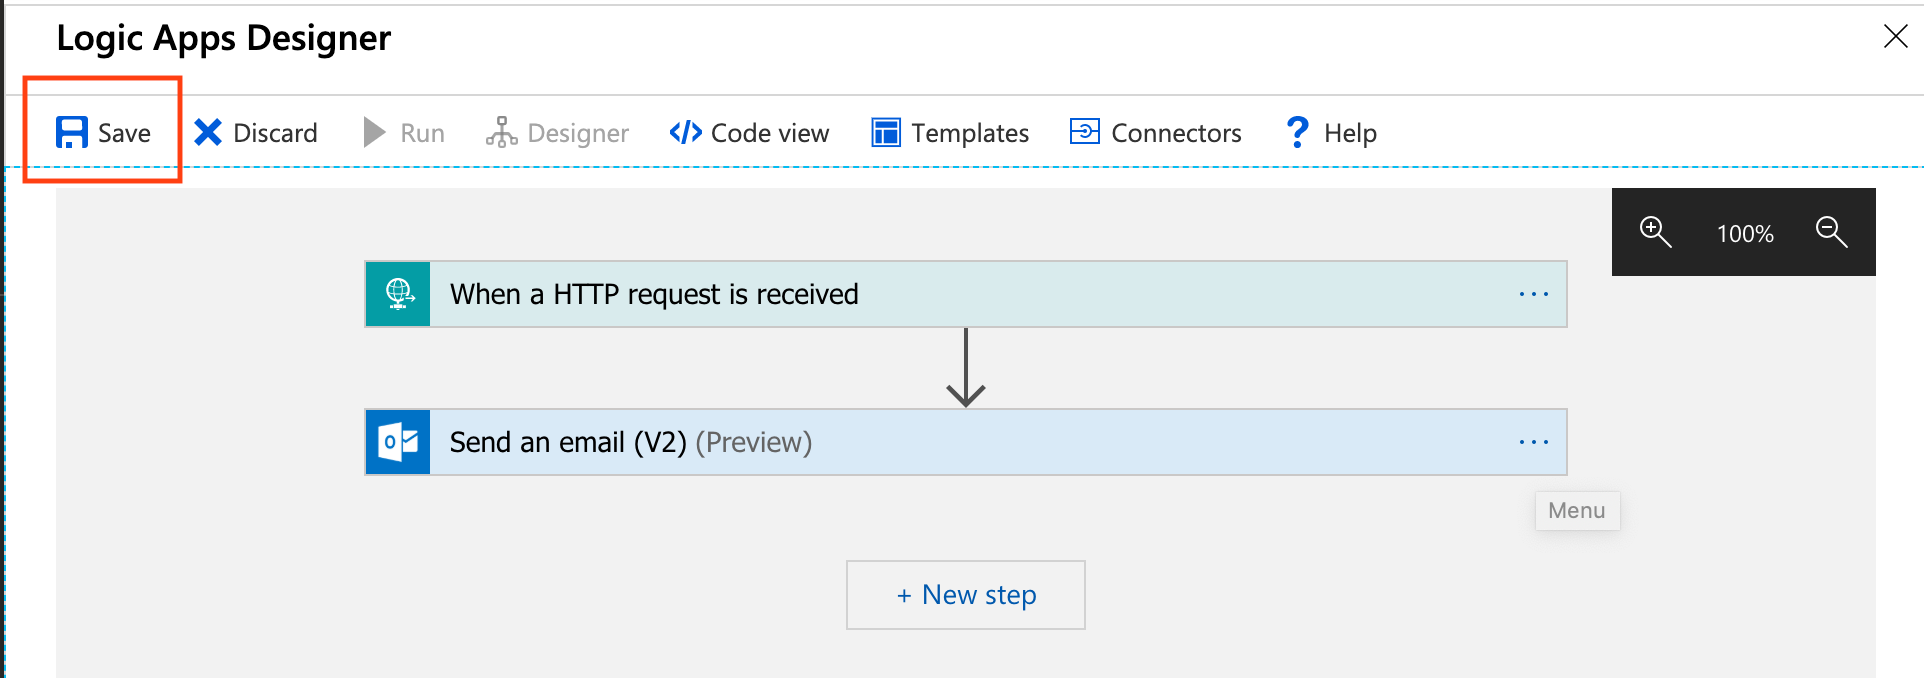
Save the workflow. We now have a Logic App workflow that can be invoked via a HTTP request to send an email with an Office 365 account.
Test the policy
Policy violating virtual machine
Find a Virtual Machine with a Public IP Address, which is a violation of the find-vms-with-public-ips policy. Next, either manually add a CreatorEmail tag to it or execute the auto-tag-user policy targeting Virtual Machine resources.

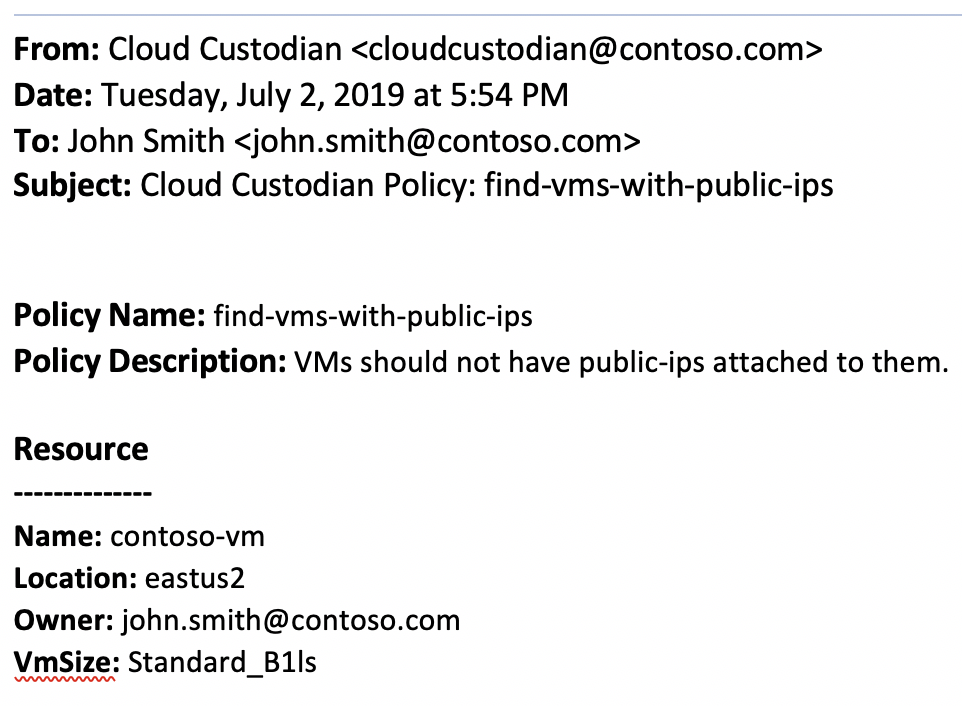
Email sent from logic app
When we execute the policy above, it will invoke the logic-app action, which will result in the following email to be sent: